Your life from American culture society and ever sewn, we’re going to be making nine projects all on the ever sown sparrow X.
today we’re making a machine embroidery patch. let’s get started first we’re going to need some supplies. I have my 120 by 180 millimeter embroidery hoop, I’ve got a size 75 machine embroidery needle in my machine, I have water-soluble stabilizer a woven fusible a scrap of background fabric some scissors machine embroidery thread for the project I’m doing a few quick-tips and of course my ever sown Pro app on a smart device.
you can use it on Apple or Android smart devices, I’m starting with my piece of background fabric I cut it out at about 5 inches and my woven feasible which I’ve cut out to be a bit smaller than that so about 4 and 1/2 inches and following my manufacturer’s instructions. I am going to fuse my fusible onto my bit of background fabric on the wrong side now that our fabrics prepared we’re going to hoop our stabilizer, to do this I’m going to unclamp my hoop and we’re moving the inner hoop from the outer hoop set that aside for a moment I am going to lay two layers of my water-soluble stabilizer over the hoop I’m using two layers because this is going to be a pretty densely stitched out design and so whenever we have lots of stitches we need more layers of stabilizer.
I’ve got that laid over it I’m bringing the inner hoop back in and I’m placing it over the stabilizer and pressing it in once I’ve got it pressed in I give it just a little bit of an extra push so it starts to pop out at the back just a touch then I clamp it and once it’s clamped I come in and apply even pressure from either side to tighten it up until the stabilizer is drum tight.
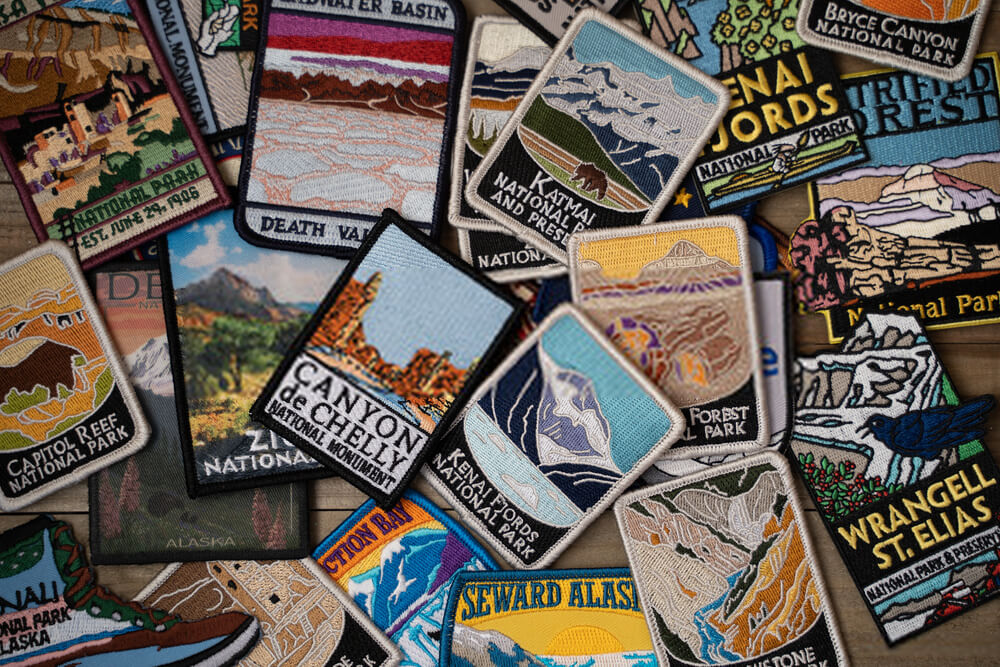
Now I’m going to put the embroidery hoop in the machine I have my machine set up in embroidery mode with the embroidery module on I’m putting the hoop in now that we’ve got the hoop in the Machine we’re going to move over to our smart device get on the Everstone Pro app to get started I’m going to click patterns all the patterns we’re doing today are down in the patches tab we’re going to make a cute little kitten and this screen shows us the stitches the threads that are going to be in it and the size of the design so I’m going ahead and send that to the editing tab.
We’re in the editing screen now and it automatically centers the cat so I’m going to move over to the patterns tab down at the bottom of the screen and it’s got that little plus sign beside it because we can add more to our design so I’m going to go back to patches and there is a circular frame we’re going to use you can put this around any of those patches send that over and we can see here that the circle is a little bit close to his whisker when it’s centered so I’m going to increase its size to about 90 millimeters then to recenter it I’m going to click the move tab and where all the arrows are pointing in towards the center I’m going to click that that little green tab at the bottom and then we are back in our main screen.
One thing I want to check before I send it stitching is the sequence so I’m going to click that sequence button and here it’s showing you what it’s going to stitch first and when it’s going to stitch second and I want it to stitch out the frame first so I’m going to move that up into the first slot and close that now that I have it all arranged as I want.
We’re ready to send it to the Machine I’m going to click that button up there in the corner and it’s going to send it to my machine I’m already connected to my machine’s Wi-Fi but if I weren’t it would take us over into the Wi-Fi tab and we would set that up but I’m all ready to stitch out and we’re going to get back to the machine now that we’re all set up in the app we’re ready to start stitching.
I’ve got with me my little piece of prepared fabric from earlier and I like to use a pair of curved applique clipping scissors these are really great for the trimming we’re going to do in a moment but any pair of scissors will do. we are going to lower our presser foot and hit the start button on the front of the machine to start our placement stitch.
I’m going to trim that tail really quick and that one pulls right up now I can take and place my fabric right tied up over that circle and I can line up my green I can really make sure that this is placed exactly where I want it by following that placing guide I’ve got that all set I’m gonna pull out a little bit more of a tail again for myself lift that pull out a nice long tail as I start to stitch this tacking stitch, I’m going to hold onto my tail. let it start sewing a few stitches and interim it so I’ve hit the pause button just the same as my start button and I am trimming the tail and I’m going to let it finish sewing out that tack for me machines finished tacking I’m going to raise the presser foot and remove the hoop so that we can trim the fabric so I’m going to bring it over to my little cutting area and I’ve got this curved pair of scissors I like it because I can place that curve right at the edge and then start to trim.
It’s ok if I cut a couple of little threads of this outer line so take your time with this be careful but don’t worry now that I have it all trimmed I’m ready to reinstall the hoop and finish the stitch out we’ve finished the stitch out we’d have our little kitty cat all done, I’ve gone ahead and removed mine from the hoop and now we’re going to remove the water-soluble stabilizer by dissolving it, to do that I have a little cotton swab and a bit of water over here in my mug so I’m just going to wet that swab and I’m going to dab around the edge of the patch and that’s going to start the water-soluble stabilizer dissolving and so I’m just going to do that all the way around until our little patch is free of its background.
As that last a little bit it solves, you can go ahead and lift the patch out and smooth out the edges just with your fingertip. it’s great that just gets all little stabilizer smooth down and congratulations you have made a machine Bertie patch, these are so fun for putting on clothing items like denim jackets hats and bags and they’re also really fun for repairing any holes and a really creative decorative way I hope you’ve had fun making this project stick around to hear more about the ever sown sparrow x.